Adding images to a PDF
 Clicking on the “Add Image” icon will bring out a dialogue window asking you to find the images on your local device or cloud storage. Once you find an image you’re happy with, simply open it and place it anywhere within the document.
In MobiPDF, you can manipulate images in any number of ways. For instance, you can freely adjust their width (↔), height (↕), or overall size by dragging the corners (⤡). Like with PDF text boxes, you can just as freely move them around the PDF once the mouse cursor turns into the crosshair-shaped icon ( ).
).
Right-clicking an image also reveals its own separate set of controls.
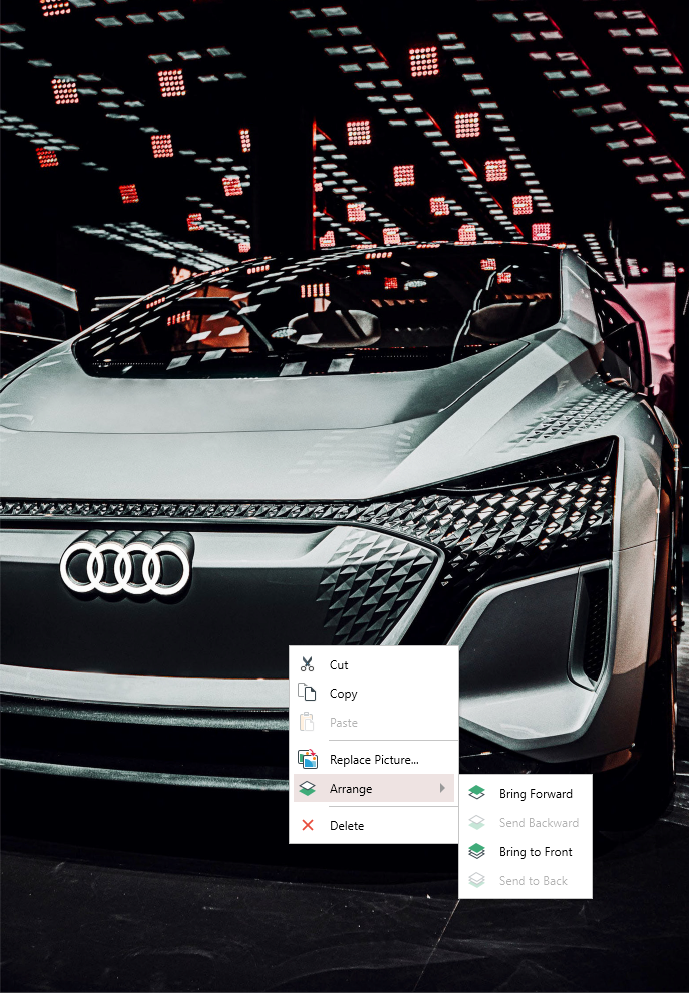
These include:
- Cutting, pasting, and copying images;
- Placing images in front of or behind other PDF objects;
- Replacing an image by clicking “Replace Picture”, which will open a new dialog prompting you to navigate to the new image.
TIP: “Replace Picture” is also accessible from the “Editing Tools” panel.
 You can also add images directly from the web. Upon clicking on “Add Online Image”, you will be presented with the following dialog window:
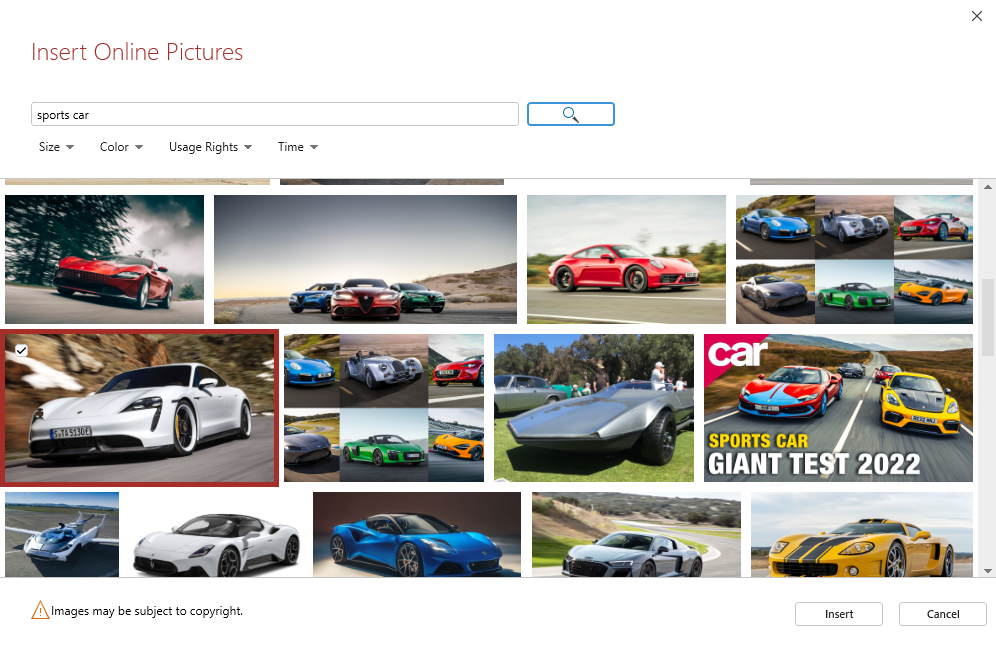
Simply pick a keyword (for instance “sunset” or “sports car”), then press the magnifying glass to load images that are similar to your prompts. You can filter the results by size, color, usage rights, and time. Once you find what you’re looking for, click “Insert” and freely place the image anywhere within your PDF.