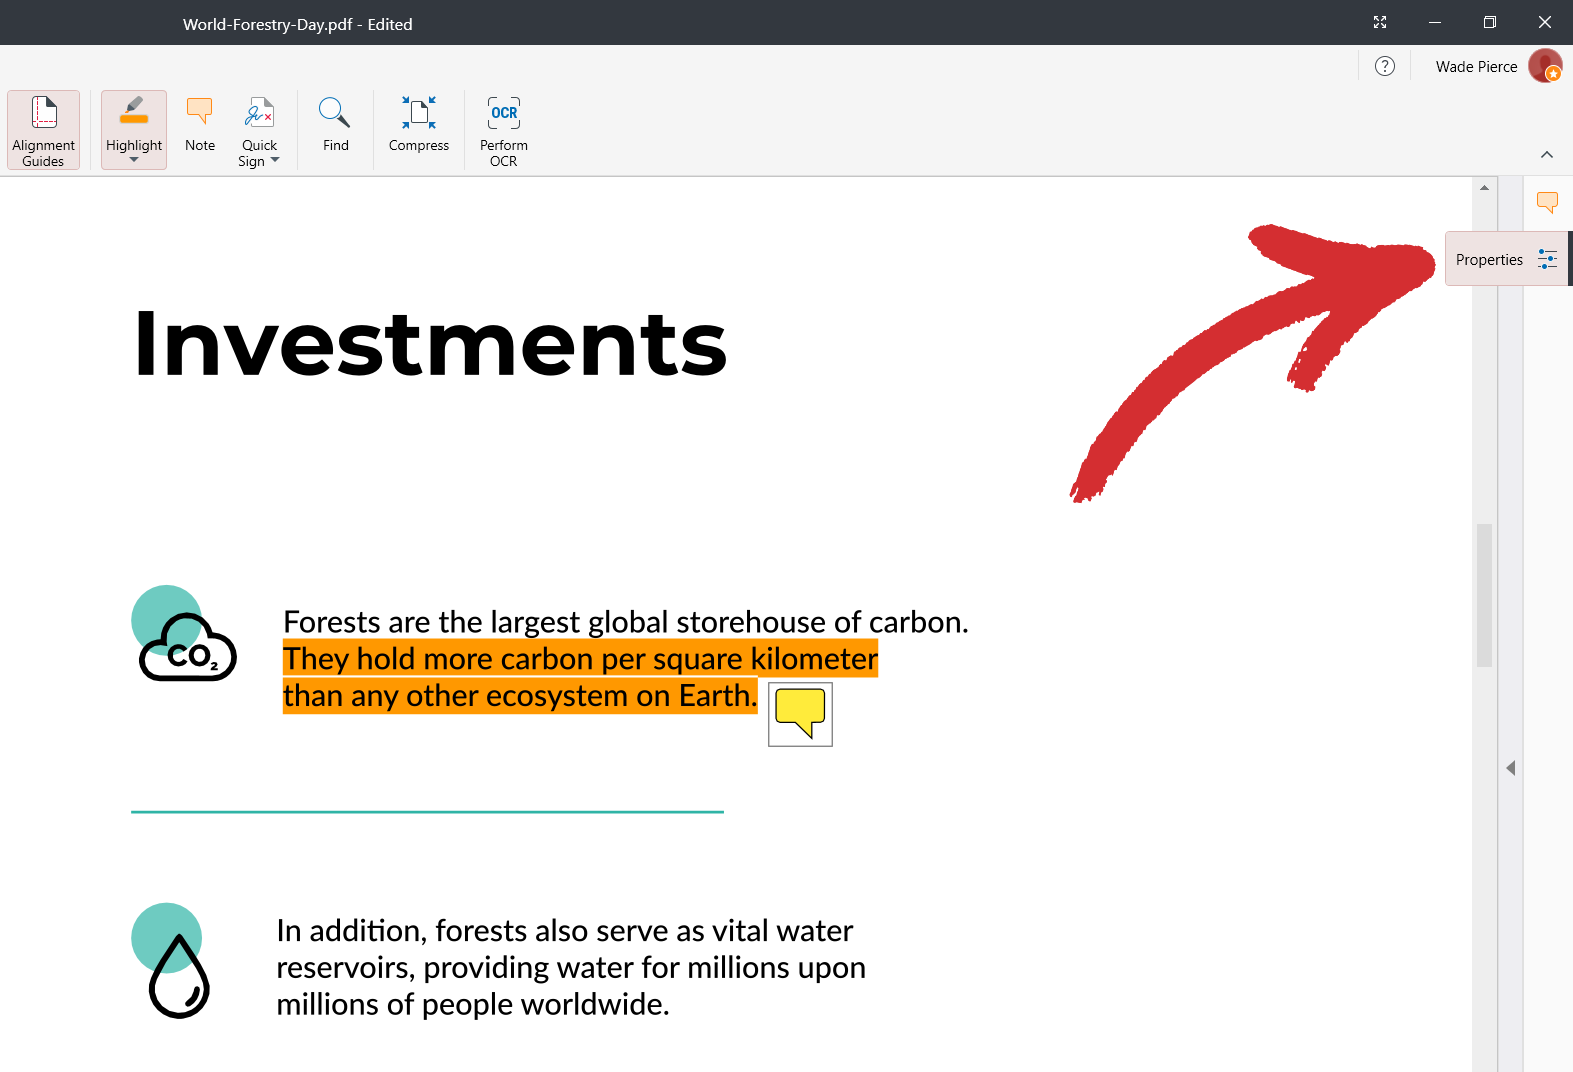
Managing markup properties
Beyond simply browsing a list of available document markups, MobiPDF also gives you a way to review and edit their properties and metadata, depending on the type of markup you have selected (comments, highlights, stamps, etc.). You can access all annotation properties through a dedicated side panel just under “Comments” called “Properties”.
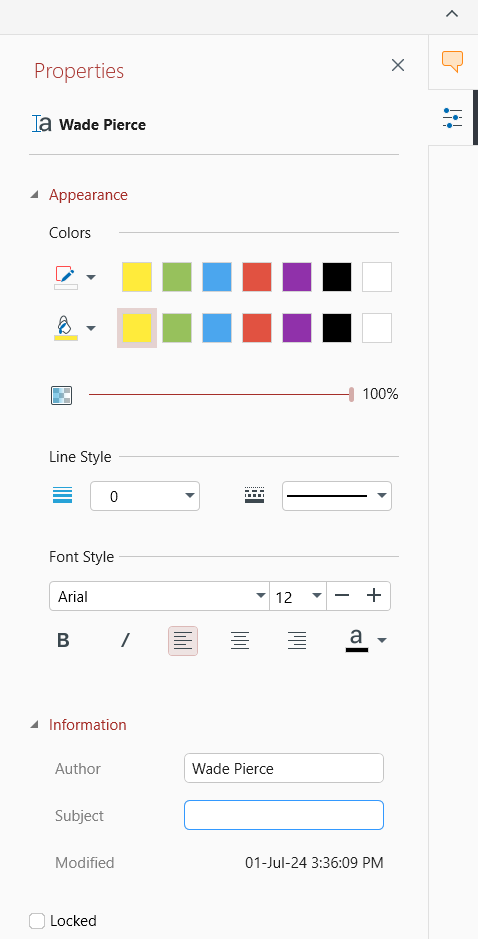
Properties panel – variation 1
Below is an example of the type of properties you can expect to see upon selecting a comment, known as a “Note” within MobiPDF.

This side panel variant is shared between the following MobiPDF markups:
 “Note”
 “Highlight”
 “Highlight Area”
 “Underline” / “Strikethrough"
 “Stamp”
 “Attach File”
IMPORTANT: depending on the complexity of your chosen markup, some of the options shown above might be missing.
Let’s analyze what each field means so that you can utilize the full potential of this advanced MobiPDF functionality.
Section 1

This section shows the author’s name and the type of markup you’re currently reviewing (in this case a “Note”).
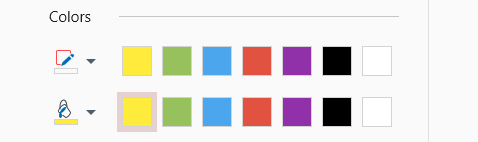
Section 2

This section allows you to choose a variety of preset colors or create your custom color.
Section 3

From here, you can choose how you want your comment to be visually represented within MobiPDF (the default visualization is the first one from left to right).
Section 4

This section allows you to change the author’s name, as well as add a description of the markup. It also gives you a detailed information of when this annotation was last updated. Finally, you also have the “Locked” option which prevents you or anyone else from changing your annotation.
Properties panel – variation 2
MobiPDF also offers a second set of parameters that you can tweak which looks like this:
As you can see, the second part of the panel is the same as the first example, but where it differs is in the beginning. This is because here, we have selected a “Text Box” annotation element. This second “Properties” side panel variant is applicable to the following markups:
 “Text Box”
 “Text”
 “Free Draw”
 ”Line”
 “Rectangle”
 “Ellipse”
 “Date”
 Checkmarks
IMPORTANT: depending on the complexity of your chosen markup, some of the options shown above might be missing.
Below is a detailed breakdown of the second “Properties” variant.
Section 1
Choose an outline and fill in colors from a predetermined list or create your own.
Section 2

Use this slider to control the opacity of your annotation element. 100% means that your markup is fully visible, while going all the way down to 0% will hide it from view.
Section 3

As the name suggests, you can use these settings to change the appearance of your lines, namely line width and style (solid, dotted, dashed, etc.).
Section 4
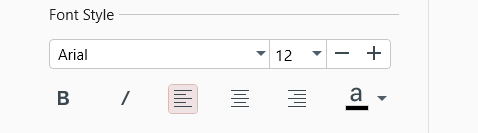
For markups like “Text Box and “Text” that also include written content, you are able to control things like the text’s font, size, positioning, color, and more.